
DIY Planter Box Centerpiece (build it for less than 8 dollars!)

About a year ago, I built this awesome planter box I used as a centerpiece for my table. It looked amazing on Thanksgiving, all filled with candles and leaves. Oh, be still my soul!
Still to this day, I love that planter box. Last Christmas my husband built me a new farmhouse table, which is GORGEOUS!!! It’s got a beautiful, glossy wood top with bright white legs. The only problem with my new table is that the finish on the planter box and the finish on the table didn’t exactly go together. So, I decided I needed to whip up a brand new BRIGHT WHITE planter box centerpiece for my new table.

And, you would never guess this baby only set me back a meager 8 dollars. EIGHT bucks, people! For the pop this centerpiece delivers, it was worth every penny (and more)!

It looks beautiful on my brand new table. And since I used the same paint my husband used on the table legs, it matches perfectly.

My Dining Room has a lot going on. It is a bit busy with everything on the cafe shelves and my pallet art, so I wanted to keep the contents of the planter box SUPER simple. I just stuck a few plants and pots from IKEA inside (fake plants of course!) and called it good. I love how simple and clean it looks. It really completes the entire dining room.

Would you like to build your own DIY Planter Box Centerpiece?
Supplies:
2- 1x6x6 boards (I used pine, cause it’s cheapest- about $3 per board)
Staple Gun (I am in LOVE with this Ryobi P360 18-Volt Airstrike Crown Stapler without Battery and Charger![]() )
)
Wood Glue
Measuring Tape and pencil
Paint and Brush
Sandpaper

Directions:
Start by cutting your boards. (the guys at Home Depot will do it for you, if you ask nicely)
I simply cut both 6 foot boards in half. That gives you 4 pieces about 3 feet long (a little less because a 6 foot board is more like 5’11″… so mine were about 35.75 inches each. Just make sure they are all the exact same length.)
Set aside 3 boards for your bottom and sides of your planter box.
Use your 4th board, and cut the end pieces. You will need 2 pieces, 7 inches long.

Run a bead of wood glue along the edge and start assembling your planter box.

Secure each side to the bottom with your staple gun.

After you’ve got your sides and bottom assembled, attach your end pieces.

Run a bead of glue around three sides of the end piece, and staple it into place.

And that’s it for the building part. You can putty your staple holes if you’d like. I didn’t, because I’m lazy, and I found that this staple gun doesn’t leave big holes. You couldn’t even see them once I painted.
If you putty, let it dry completely and then sand. Or skip right to painting the box, or stain it like I did with my other one.
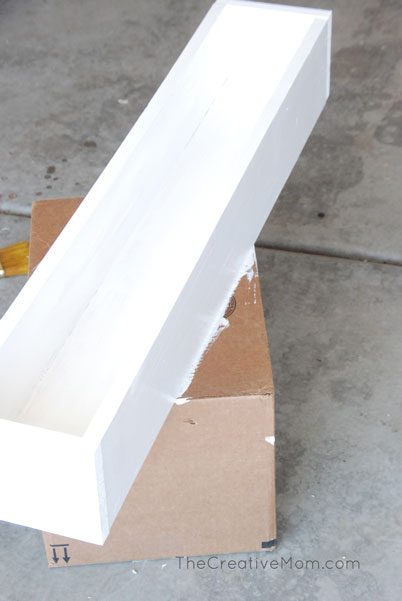
I wanted a distressed look, so I sanded a few spots on mine after I had it painted and dry.

All in all, this project probably took about half an hour. It was SUPER simple, and for only eight dollars, you can’t go wrong!
Like I said, my dining room has a lot going on. And I made almost everything you see in this photo! Click on the links below to find the full, step-by-step tutorials for each project:
Pallet Art (without the pallet)
Farmhouse Bench (for under $20)
I’m obsessed!!! Love the way it turned out, it’s simply adorable and easy to make. Love your creativity! Thank you for sharing!
Oh my goodness this is so cute! Thank you for all the styling inspiration!!!! We are doing some kitchen cabinet refinishing this week & I am trying to plan out how we are going to style the space after. This centerpiece would be so cute!!! Thanks for sharing!
The Creative Mom.com you are so CREATIVE!!!!!!!!!! Love you. Oh and your home is adorable.
oh my gosh I love this! So simple and so adorable! It’s perfect!
Super cute idea, love the cost too, awesome!–thanks so much, can’t wait for more!!!! xox Laurie & TIffany
Super cute idea–thanks so much, can’t wait for more!!!! xox Laurie & TIffany
How simple yet so adorable!! I pinned this so I can make it for my table. Thanks for sharing!