
How to Cut Fabric with a Silhouette (and iron it on a shirt)
When I got my Silhouette Cameo, I was excited to try out a bunch of things, like the chipboard, vinyl, cutting without a mat, and of course… cutting fabric!
So, today, I want to show you how to use your Silhouette to cut fabric. And I’ll show you how I fancied up some plain shirts for my kiddos.

You’ll need some fabric interfacing. Silhouette has two types: sewable and clean cut (iron on).
For my project today, I used clean cut.

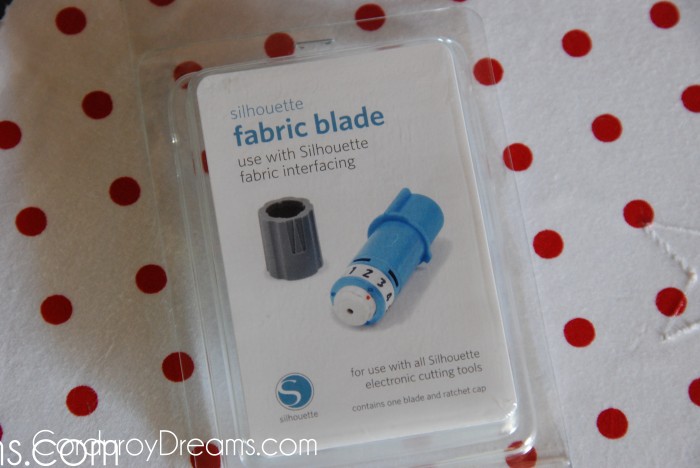
And you’ll need a fabric blade.
Create your cut file. I was doing two different shirts, so I placed my images far apart.

Cut a piece of interfacing the size of the image you are cutting. And iron your fabric onto the textured side of the interfacing.

You will remove the paper backing from your interfacing before you stick your fabric on your mat.

Then load your mat into your Silhouette and cut.
I just have to say that one of my favorite things about my Silhouette is that it has all the settings pre-set for whatever I’m cutting. So I don’t have to guess what to put my blade at.

Once your fabric is cut out, place it on your shirt, and iron it on.

That’s it. You’re done.
And yes, he requested an “antler mount” shirt.
Such a boy.


And she wanted polka-dots, yellow, and stars. Check, check, and check.

I think she’s happy.


I was VERY happy with how well the Silhouette cut fabric. Especially with the intricate detail on those antlers.
Now is a great time to get a Silhouette of your own. Click HERE to go to the special promotions page and take advantage of this month’s discount. And don’t forget to enter CORDUROY as the promo code in order to get the discount.

Dose the iron on keep it from fraying?